Windows 101 - File Management: Difference between revisions
No edit summary |
No edit summary |
||
| (6 intermediate revisions by the same user not shown) | |||
| Line 57: | Line 57: | ||
File Explorer allows you to move or copy files to different locations: | File Explorer allows you to move or copy files to different locations: | ||
* '''Move''': Click and drag a file to a new location in the Navigation Pane or File View Area. [[File:Windows 101 - File Explorer - Move File.gif|alt=Moving Files to a Different Folder|none|frame|Moving Files to a Different Folder]] | * '''Move''': Click and drag a file to a new location in the Navigation Pane or File View Area. <br> [[File:Windows 101 - File Explorer - Move File.gif|alt=Moving Files to a Different Folder|none|frame|Moving Files to a Different Folder]] | ||
* '''Copy''': Right-click the file and select '''Copy'''. Navigate to the new location, right-click, and select '''Paste'''. | * '''Copy''': Right-click the file and select '''Copy'''. Navigate to the new location, right-click, and select '''Paste'''. <br> [[File:Windows 101 - File Explorer - Copy Files.gif|alt=Copy files to a new folder. Take note that copying makes a 2nd copy, so the files are in the original folder and the new folder.|none|frame|Copy files to a new folder. Take note that copying makes a 2nd copy, so the files are in the original folder and the new folder.]] | ||
Both operations can be done on multiple files at once, using the selection methods mentioned earlier.<br> | Both operations can be done on multiple files at once, using the selection methods mentioned earlier.<br> | ||
==== Searching for Files ==== | ==== Searching for Files ==== | ||
To search for a file: | To search for a file: | ||
# Click the '''Search box''' in the upper-right corner of the File View Area. | # Click the '''Search box''' in the upper-right corner of the File View Area. | ||
# Start typing the file or folder name. File Explorer will display matching results as you type.<br> | # Start typing the file or folder name. File Explorer will display matching results as you type.<br> [[File:Windows 101 - File Explorer - FIle Search.gif|alt=File Search: Take note, the files with highlights contain the word "email" in the file name, the files without highlights contain the word "email" in the file itself.|none|frame|File Search: Take note, the files with highlights contain the word "email" in the file name, the files without highlights contain the word "email" in the file itself.]] | ||
==== Deleting Files ==== | ==== Deleting Files ==== | ||
| Line 71: | Line 71: | ||
# Right-click the file or folder you want to delete and select '''Delete'''. | # Right-click the file or folder you want to delete and select '''Delete'''. | ||
# The item will be moved to the '''Recycle Bin''', where you can restore it later if needed. | # The item will be moved to the '''Recycle Bin''', where you can restore it later if needed. <br> [[File:Windows 101 - File Explorer - Delete File.gif|alt=Delete a File|none|frame|Delete a File]] | ||
If you want to permanently delete files, empty the Recycle Bin: | If you want to permanently delete files, empty the Recycle Bin: | ||
# Right-click the '''Recycle Bin''' icon on your Desktop. | # Right-click the '''Recycle Bin''' icon on your Desktop. | ||
# Select '''Empty Recycle Bin'''. | # Select '''Empty Recycle Bin'''. <br> [[File:Windows 101 - File Explorer - Empty Recycle Bin.gif|alt=Empty Recycle Bin|none|frame|Empty Recycle Bin]] | ||
< | |||
==== Renaming Files or Folders ==== | ==== Renaming Files or Folders ==== | ||
| Line 83: | Line 81: | ||
# Right-click the file or folder and select '''Rename'''. | # Right-click the file or folder and select '''Rename'''. | ||
# Type the new name and press '''Enter'''.<br> | # Type the new name and press '''Enter'''. <br> [[File:Windows 101 - File Explorer - Rename File.gif|alt=Rename File or Folder|none|frame|Rename File or Folder]]<br> | ||
---- | ---- | ||
Now that you know how to use File Explorer, you’ll be able to efficiently manage your files and folders, keeping your workspace organized. In the next lesson, we’ll dive into '''Security Basics''', which will teach you how to protect your files and your computer.<br> | Now that you know how to use File Explorer, you’ll be able to efficiently manage your files and folders, keeping your workspace organized. In the next lesson, we’ll dive into '''Security Basics''', which will teach you how to protect your files and your computer.<br> | ||
Latest revision as of 17:02, 15 October 2024
Windows 101: File Explorer
In this lesson, we’ll cover how to use File Explorer to view, manage, and organize your files and folders in Windows. Now that you understand file management theory, let’s dive into the practical aspects of how to use this essential tool.
Opening File Explorer
There are several ways to open File Explorer:
- Taskbar: Click the File Explorer icon (a folder) on the Taskbar.
- Start Menu: Open the Start Menu, type File Explorer, and select it from the search results.
- Start Menu Context Menu: Right-click on the Start Menu and select File Explorer from the menu.
Note: To pin File Explorer to your Taskbar permanently, right-click its icon in the Taskbar after opening it and select Pin to Taskbar.
File Explorer has several sections that help you navigate through your files:
- Navigation Pane: On the left, shows your frequently used folders, such as Documents and Downloads, as well as drives like This PC.
- Address Bar: Shows the current folder location. Click parts of the path to move backward or forward within folders.
- File View Area: This is where you see the files and folders in the current location.

File Explorer Area

Viewing and Sorting Files
You can customize how files and folders are displayed:
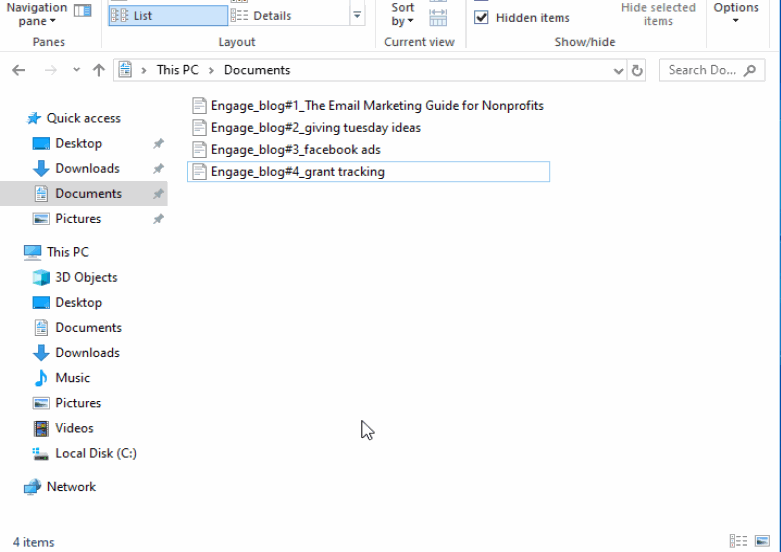
View Options: Click the View tab at the top to change the display (e.g., icons, lists, or details).

Sorting Files: In Details view, you can click column headers to sort by name, date, type, or size, making it easier to organize your files.

Selecting Multiple Files
File Explorer allows you to select multiple files to perform actions on several at once. Here’s how:
- Shift-click: Click the first file, hold Shift, and click the last file in the list. All files between the two will be selected.
- Ctrl-click: Hold Ctrl and click individual files to select multiple files without selecting everything in between.
- Drag: Click and drag your mouse over a group of files to select them all at once.

Once selected, you can apply any file operation (like copy, move, or delete) to the group of files.
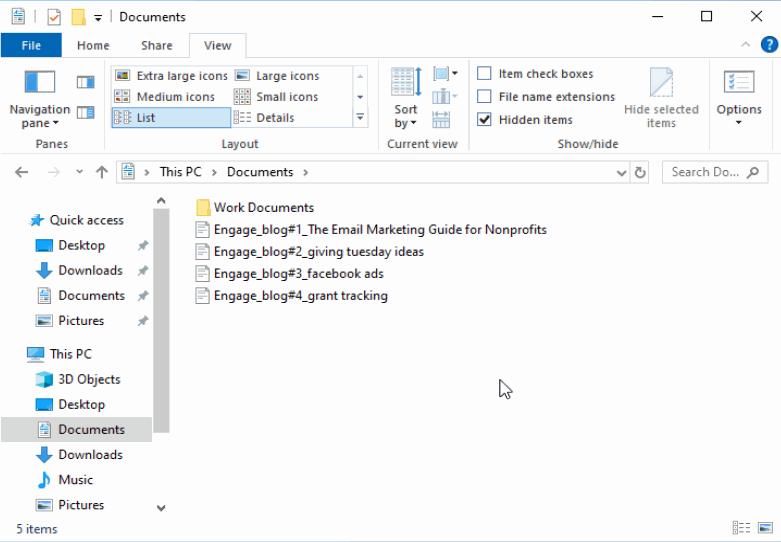
Creating Folders
To create a new folder for organizing your files:
- Navigate to the folder where you want to create the new folder.
- Right-click in the File View Area and select New, then Folder.
- Type the name for your new folder and press Enter.
Create New Folder

Moving and Copying Files
File Explorer allows you to move or copy files to different locations:
- Move: Click and drag a file to a new location in the Navigation Pane or File View Area.

Moving Files to a Different Folder - Copy: Right-click the file and select Copy. Navigate to the new location, right-click, and select Paste.
Copy files to a new folder. Take note that copying makes a 2nd copy, so the files are in the original folder and the new folder.


Both operations can be done on multiple files at once, using the selection methods mentioned earlier.
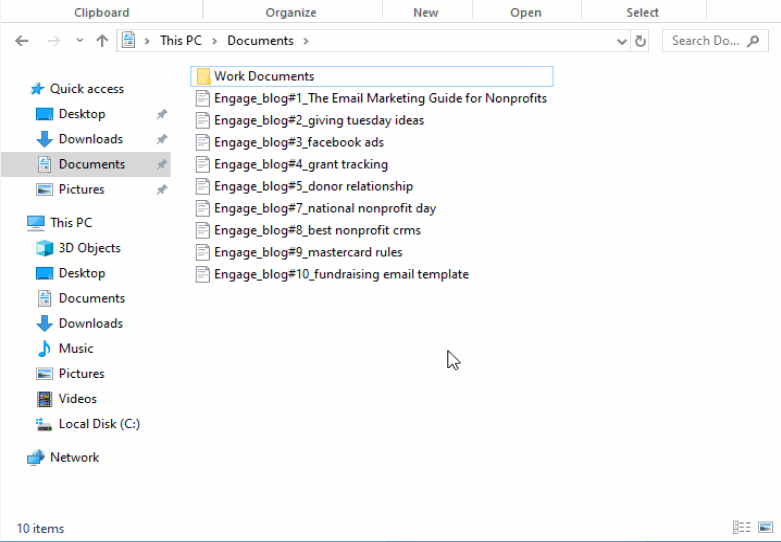
Searching for Files
To search for a file:
- Click the Search box in the upper-right corner of the File View Area.
- Start typing the file or folder name. File Explorer will display matching results as you type.
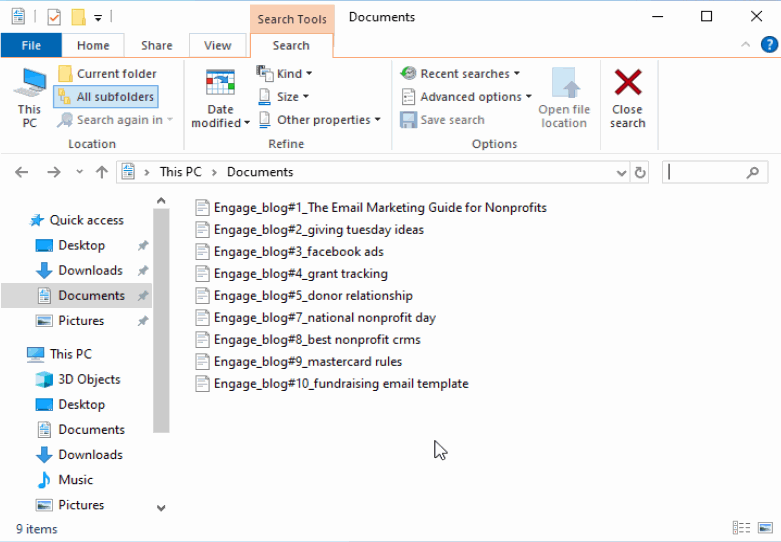
File Search: Take note, the files with highlights contain the word "email" in the file name, the files without highlights contain the word "email" in the file itself.

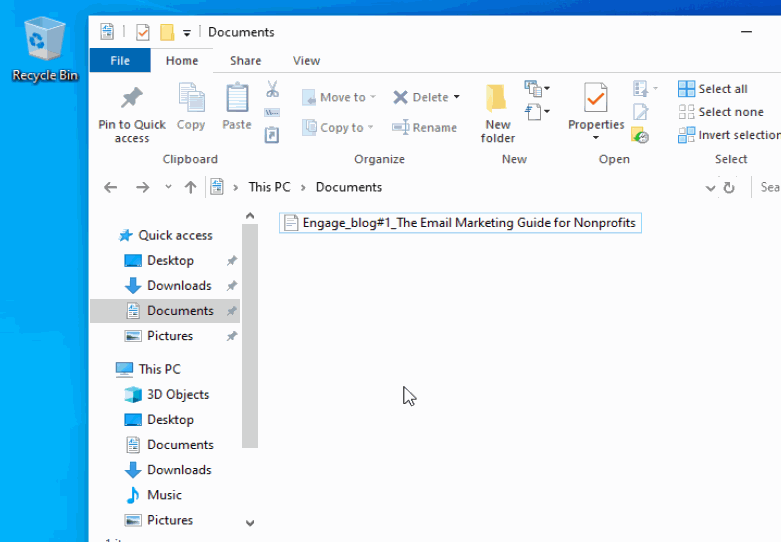
Deleting Files
To delete files or folders:
- Right-click the file or folder you want to delete and select Delete.
- The item will be moved to the Recycle Bin, where you can restore it later if needed.

Delete a File

If you want to permanently delete files, empty the Recycle Bin:
- Right-click the Recycle Bin icon on your Desktop.
- Select Empty Recycle Bin.
Empty Recycle Bin

Renaming Files or Folders
To rename a file or folder:
- Right-click the file or folder and select Rename.
- Type the new name and press Enter.
Rename File or Folder

Now that you know how to use File Explorer, you’ll be able to efficiently manage your files and folders, keeping your workspace organized. In the next lesson, we’ll dive into Security Basics, which will teach you how to protect your files and your computer.